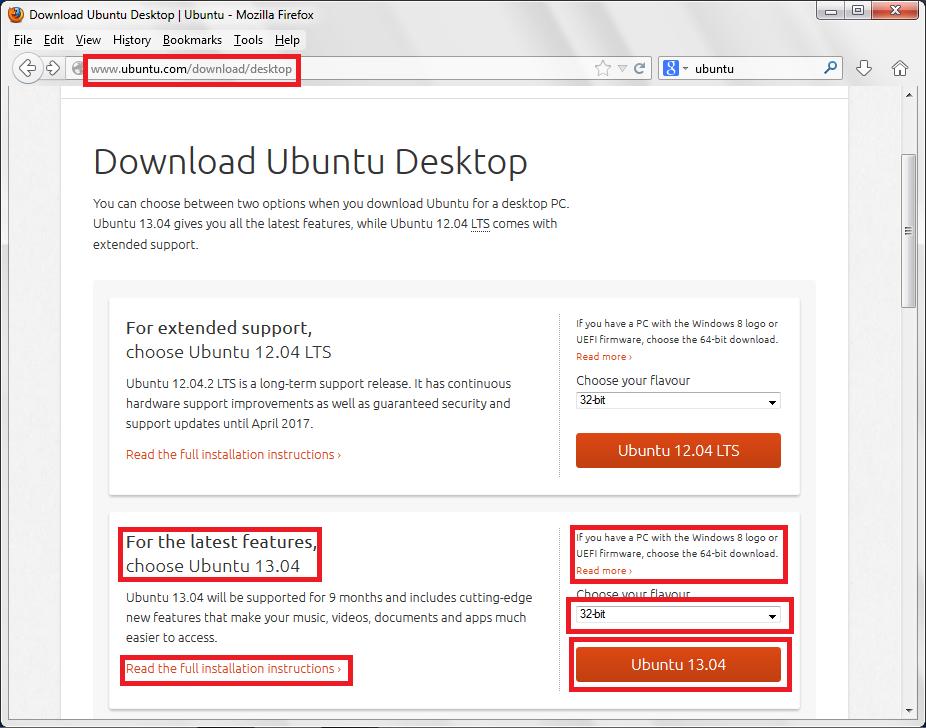
Go to the Ubuntu site and find the appropriate download page for your computer (see the location bar above.)
WARNING: If you have a recent Windows computer, (say a Windows 8 one), do not follow the Ubuntu installation as pictured here. In particular, as it says in the picture above, you will need the 64 bit version. Click the drop-down bar to do so.
However, I have a fairly old Windows 7 machine. So I left it simply at 32 bit, and clicked the "Ubuntu 13.04" button.
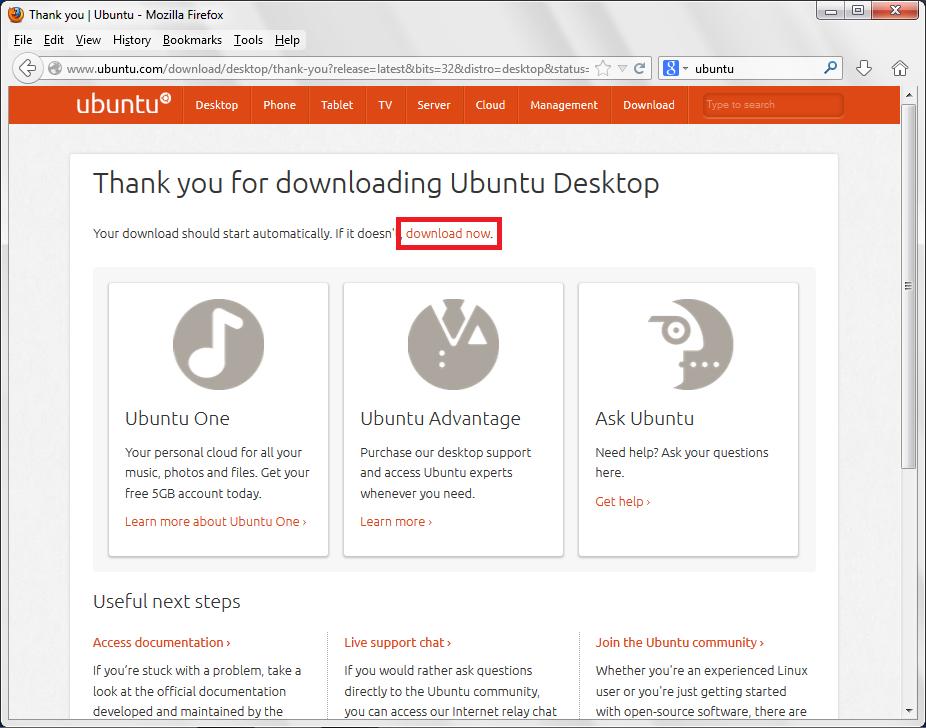
This window showed up, telling me that the download was about to start.
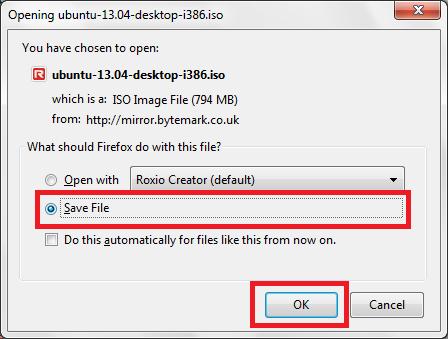
Sure enough, I got this pop-up window. I first selected "Save File". (I would rather not have to download again if something goes wrong with burning the disk.) Then I clicked "OK".
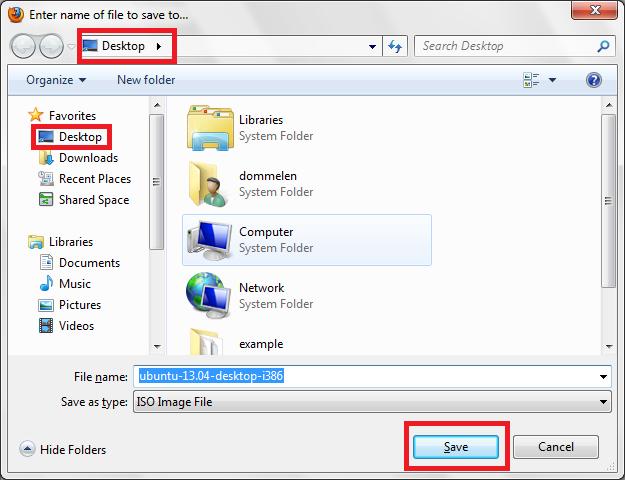
That produced the above dialog, asking me where to save the file. I clicked "Desktop" in the side bar to get it to save to the Desktop (see the top bar). Then I clicked save.

Alarm! I got a "Thank you screen" OK, but no download window showed up. So I repeated the previous steps a few more times.
Finally I got smart enough to go into the Firefox "Tools" menu and click "Downloads". As you see, the downloads were being performed OK. The Download window itself did not show up for some reason. I immediately cancelled three of the four download processes. One copy is more than enough.
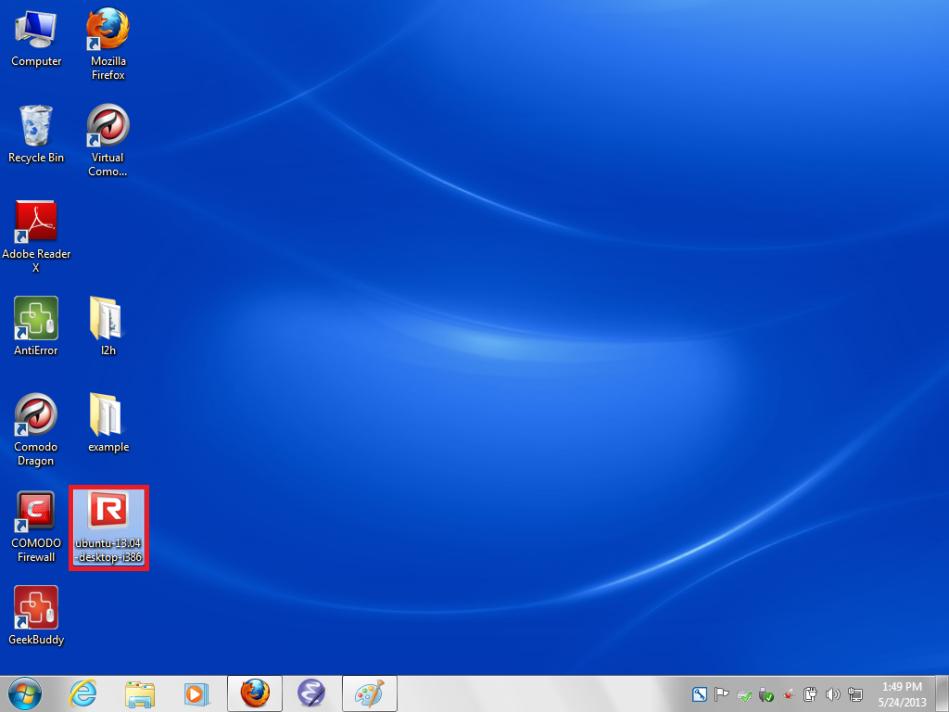
Wait until the download is finished. Afterwards you should be able to find the complete Ubuntu iso on your desktop. Right-click it.
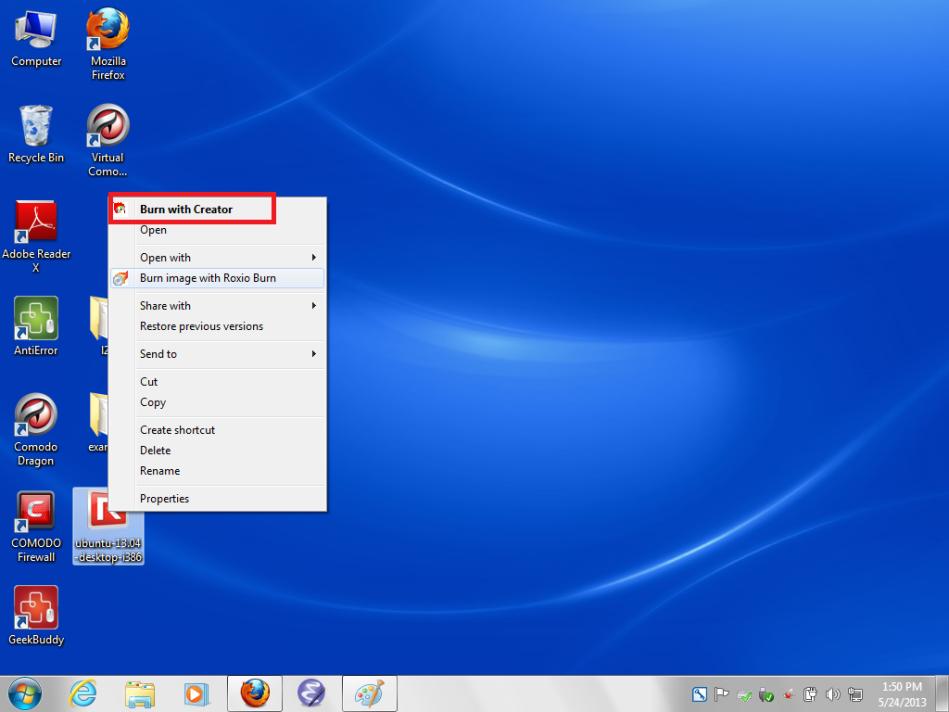
That should bring up some menu, like the one above, giving you some way to "burn" the iso to a DVD. Select it. (I used the top menu choice.)
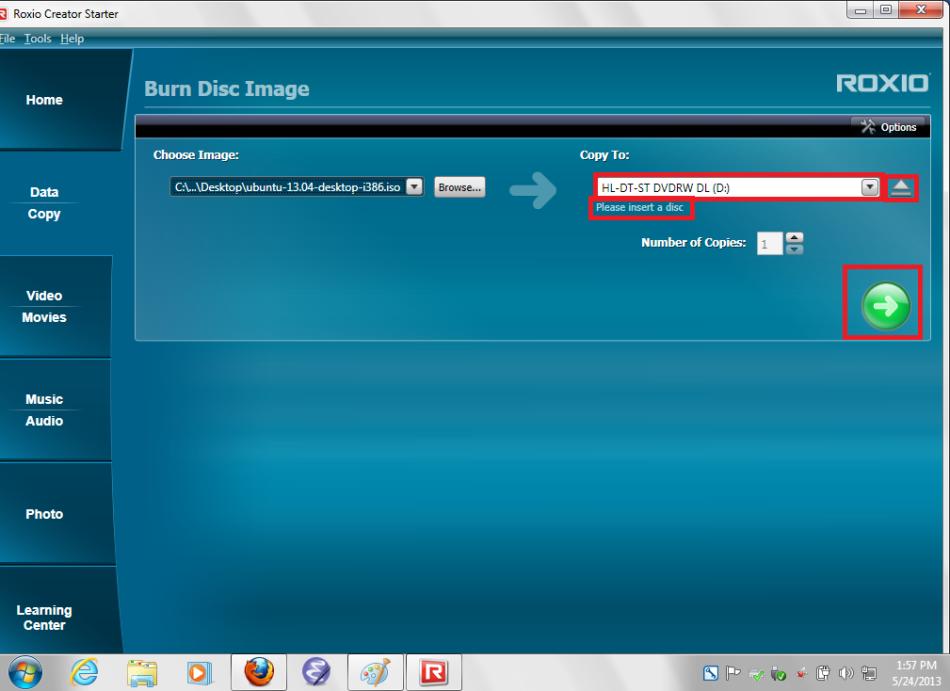
As it says, put a blank DVD in the CD/DVD drive. After it accepted it, I clicked the green arrow. It made the DVD and ejected it.
Now it is time to start installing Ubuntu. Unfortunately, I cannot show pictures of that. So I will just give a brief description. I put the DVD back into the DVD drive. Then from the Windows start menu, I used "Shutdown".
After the computer shut down, I restarted it. Ubuntu should now load. If it does, go to the next paragraph. If it does not, you need to enable "booting from the CD/DVD". Restart the computer and watch the screen for a message about a key to press. Typically, the key is F2 or F12. Press it before Windows begins to start up. You have only a couple of seconds or so after the key is shown. The key should bring up some menus (your mouse might not work on them, keyboard time.) Search through the menus for something like "boot sequence". Modify it so that the CD/DVD drive is before the primary hard disk. Save the settings. Restart the computer. If the change was done right, you should now see lots of activity on the DVD drive and Ubuntu should come up.
You will be given a choice between "Try Ubuntu" and "Install Ubuntu". I selected "Install Ubuntu". It told me it requires over 5.3 Gigabyte of available disk space and an Internet connection. My computer had them.
The tricky part about installing Ubuntu is creating space on the hard disk. You will end up at a menu, one of the options is "Erase everything on the disk". Do not select that option. Not if you might still want to use Windows, at least. I also have Ubuntu 12.04 LTS installed, and I was given an option to either replace 12.04, or upgrade it to 13.04. But I wanted to keep 12.04 also as is, thanks. So I selected the "Other" menu option.
Warning: This is not something for the unexperienced. Since there was no free space on the primary disk for Ubuntu 13.04, I had to make some. I decided to reduce the size of the Ubuntu 12.04 "partition" of the disk. So I selected that partition, clicked "Change" and reduced its size by 80 Gb (80 G is 80000 M, 4 zeros). It took about 15 minutes (of no apparent action) on my computer to reduce the size. But it did give 80 Gb of free space when done. I selected the free space, clicked +, reduced the size to 70 Gb to have 10 Gb left, and selected mount point "/" from the drop-down box. Then I clicked the remaining 10 Gb free space, and used all of it as mount point "Swap". After that I let Ubuntu proceed the install.
After the install was done, Ubuntu asked to remove the DVD from the drive and hit Enter. I did. Ubuntu restarted, this time from the hard disk instead of the DVD. I logged in with the username and password I had selected during installation.
Now I could take pictures again.
Install LaTeX and Related Stuff
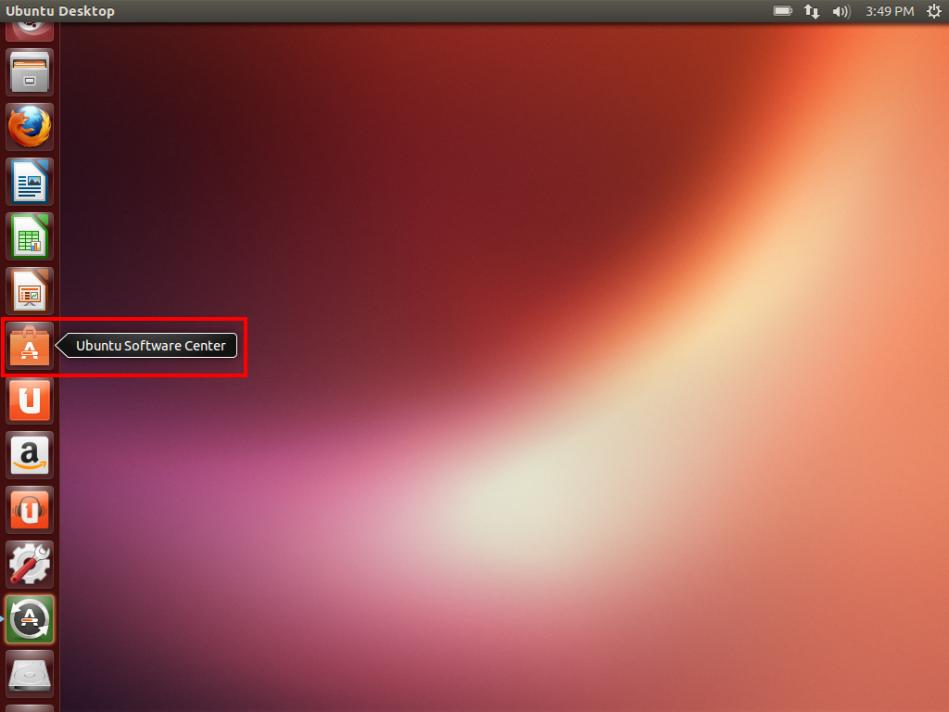
There is the Ubuntu 13.04 desktop. Click the "Software Center" icon in the vertical task bar.

In the search box, type "synaptic". Synaptic Package Manager should show up in the list. Click its "Install" button.
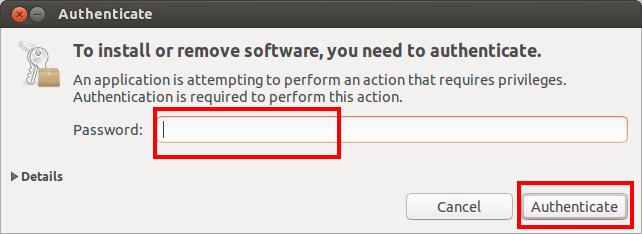
You need to reenter your password and click "Authenticate". From now on, I will no longer show these authenticate screens.
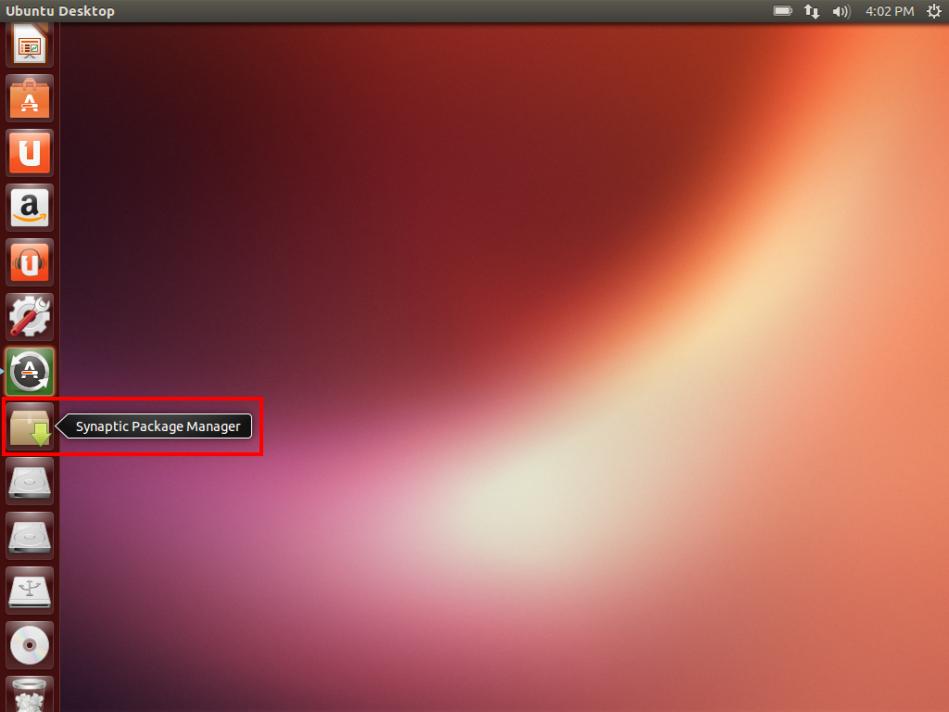
Close Software Center and click the "Synaptic" icon on the desktop as shown. Password time again.
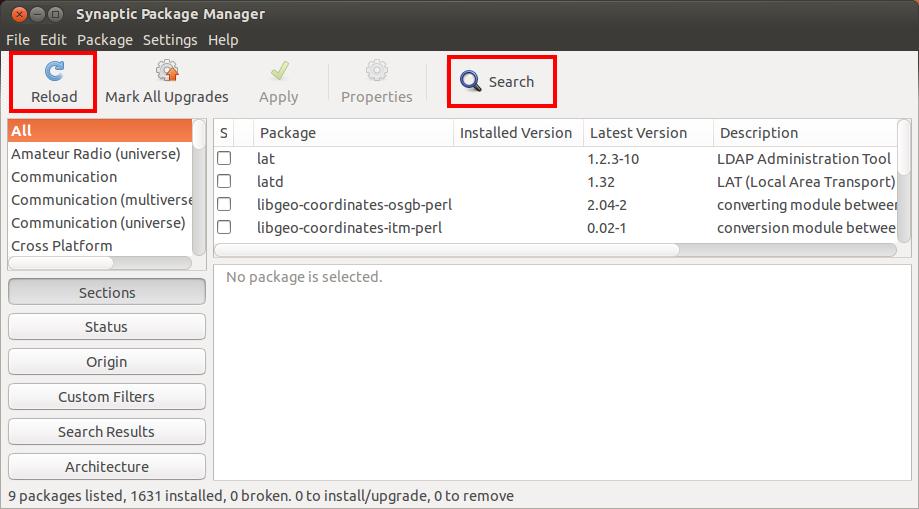
Synaptic opens. Click "Reload", just to be sure. (Actually, I forgot.) Then click "Search".
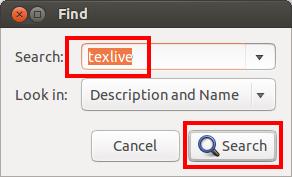
In the opened windows, type in "texlive" for the search string, then click "Search".
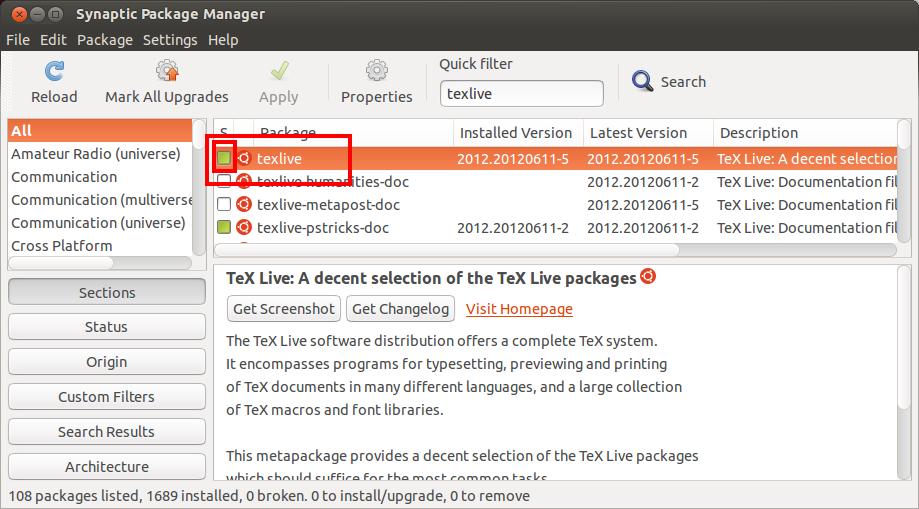
Oops, I forgot to take the picture of this at first. That is why the button in front of "texlive" is green. It will be white for you. Right-click it and select "Mark for Installation". You will get a checkmark in the button.
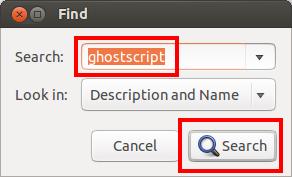
Click "Search" again in Synaptic and in the opened window type in "ghostscript", then click "Search" there.

Ghostscript was already installed, as seen from the green button. So that is OK.
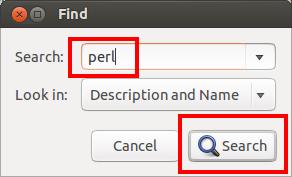
Click "Search" again in Synaptic and in the opened window type in "perl", then click "Search" there.
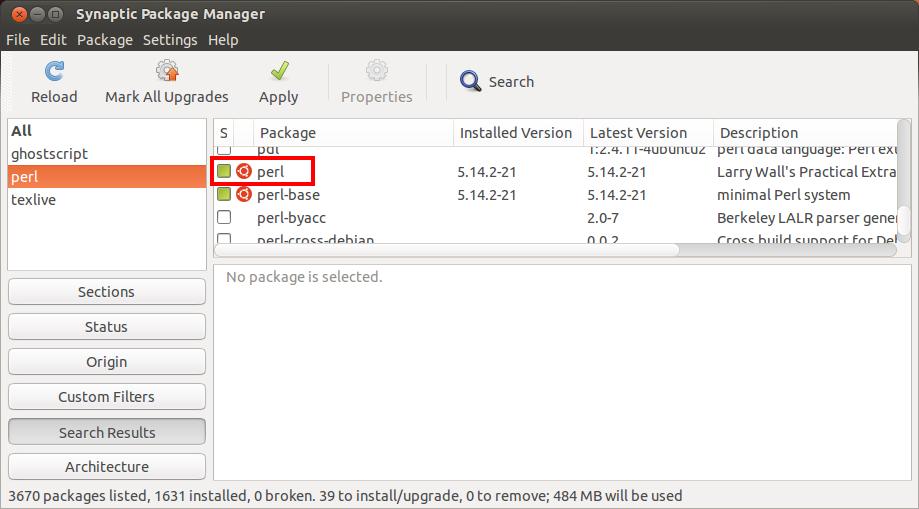
Perl too was already installed.
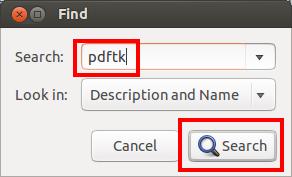
Click "Search" again in Synaptic and in the opened window type in "pdftk", then click "Search" there.
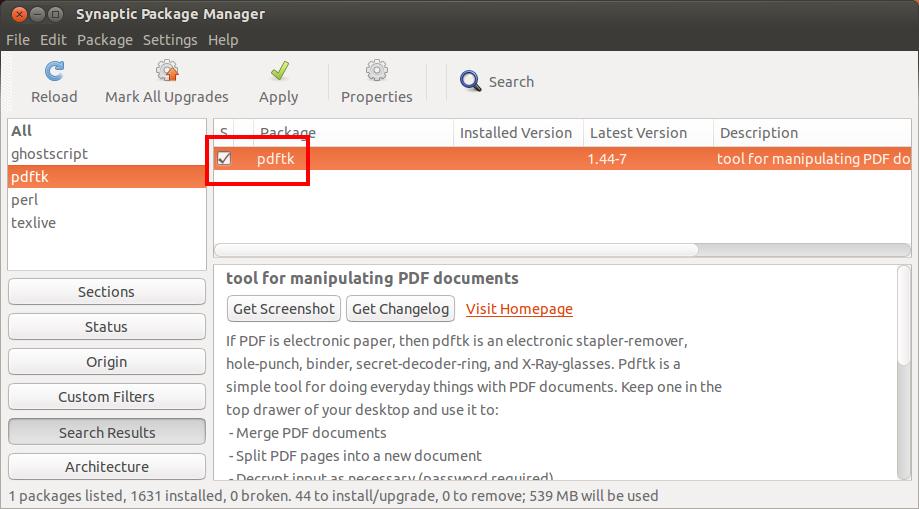
Pdftk was not installed, so I right-clicked its button and selected "Mark for installation."
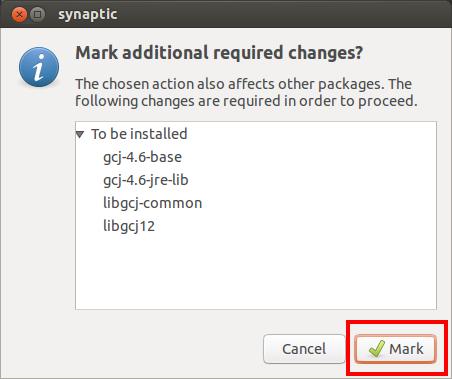
That opened up this window, telling me that some other stuff had to be installed as well. Click "Mark".
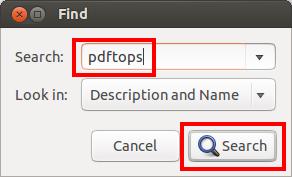
Click "Search" again in Synaptic and in the opened window type in "pdftops", then click "Search" there.
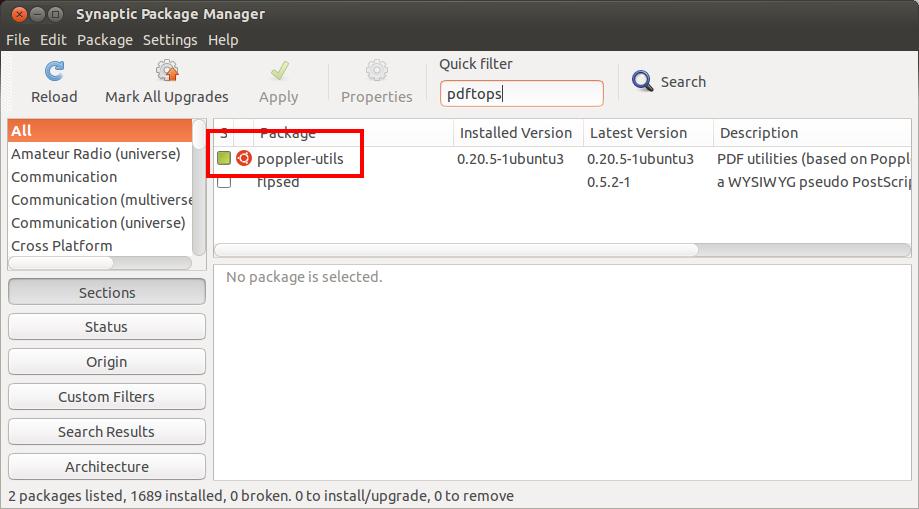
Pdftops turned out to be part of the "Poppler Utilities" that were already installed.
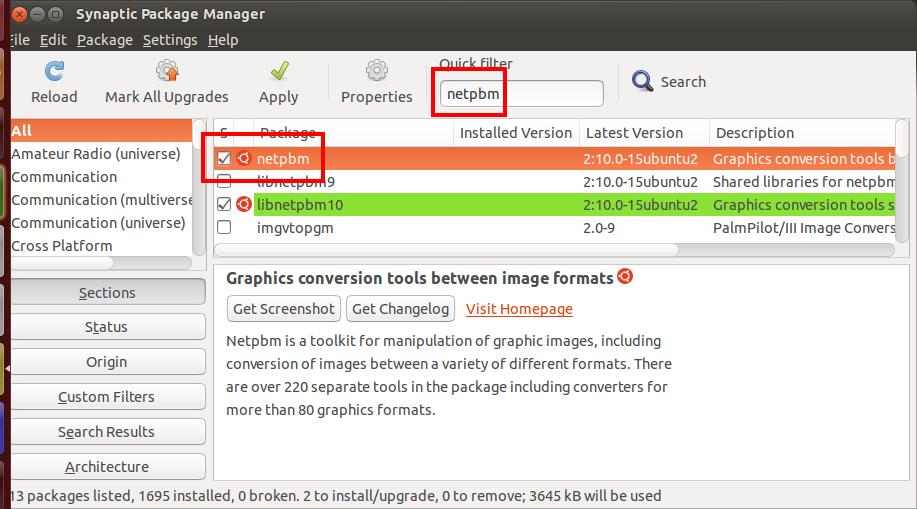
Search for "netpbm" and mark it for installation too. (Sorry, I forgot to take a picture of the search window.)
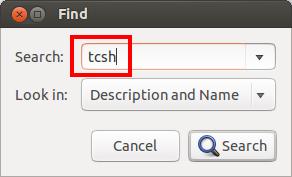
Click "Search" again in Synaptic and in the opened window type in "tcsh", then click "Search" there.
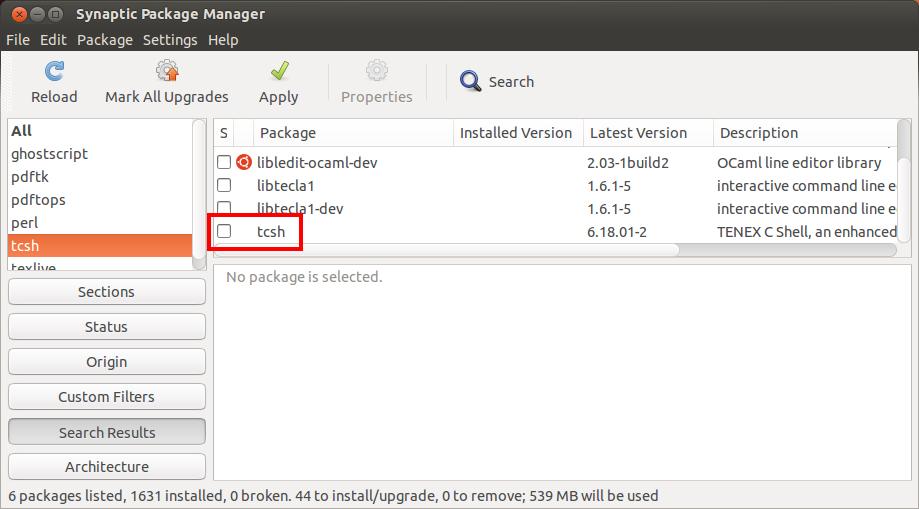
Tcsh was not installed, so I right-clicked its button and selected "Mark for installation."
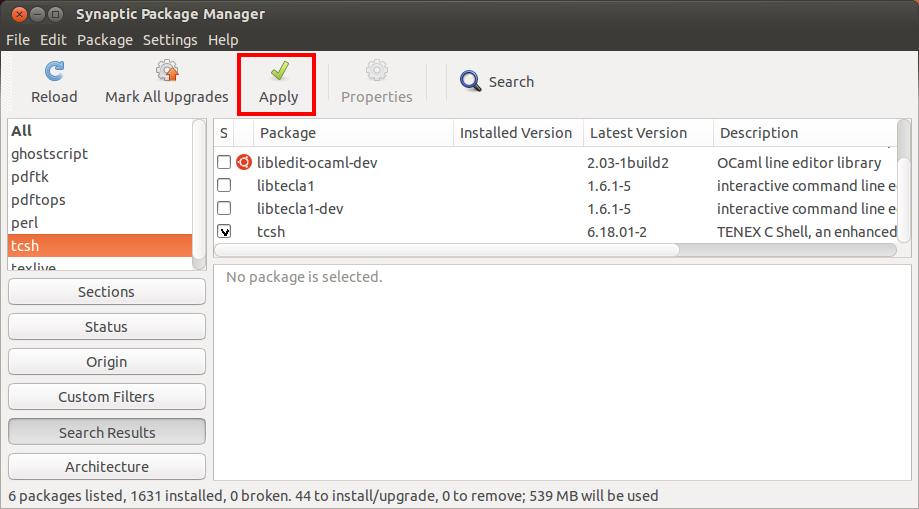
(I had to fake the check mark in tcsh here. Took the picture before marking. Make sure there is a check mark. L2h will not even start without tcsh.) Now click "Apply".
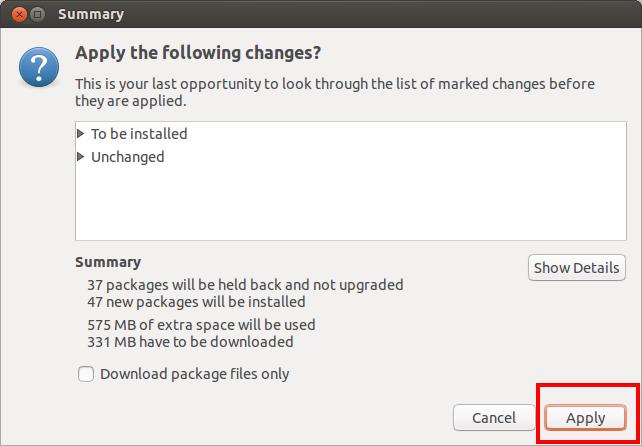
Click "Apply" again in the window that comes up.
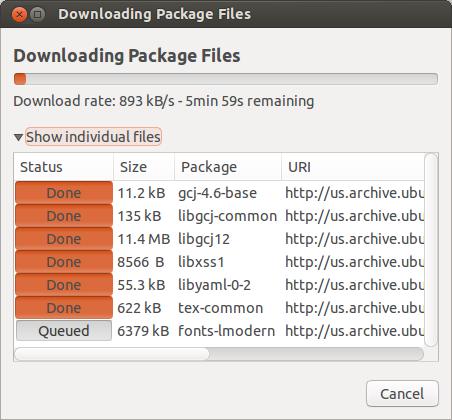
You get a download progress window now. Do nothing.
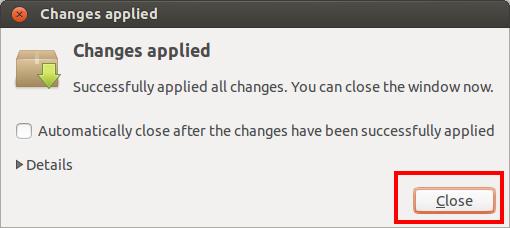
Click the "Close" button when it appears.
Internationalization
Note: If you write in English, or in a Western European language other than Greek, you can close Synaptic now and skip to the next section, "Installing l2h".
Those that write in nonlatin languages, however, will need to install some more stuff with Synaptic. Stay in this section.
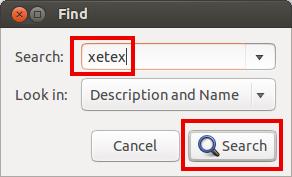
Click "Search" again in Synaptic and in the opened window type in "xetex", then click "Search" there.
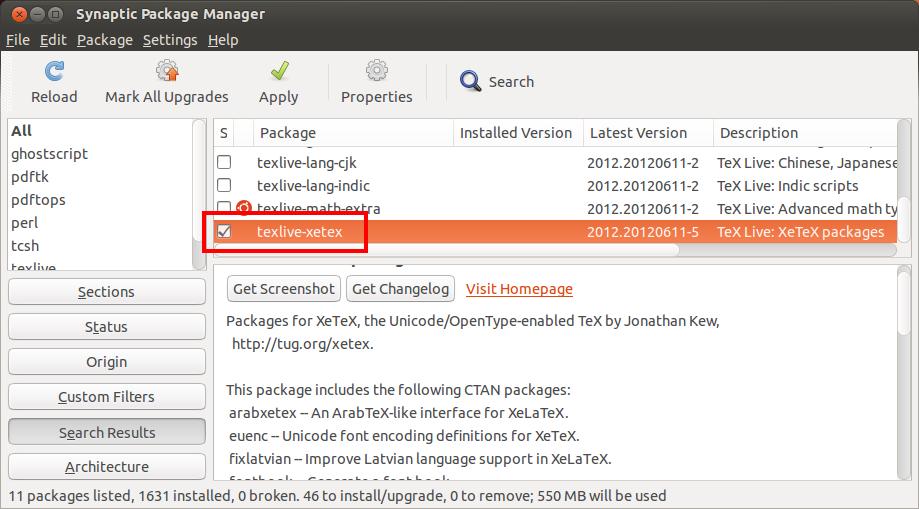
Right-click the texlive-xetex button and select "Mark for installation."
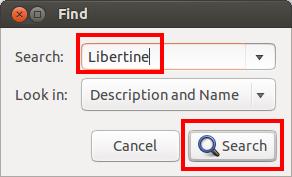
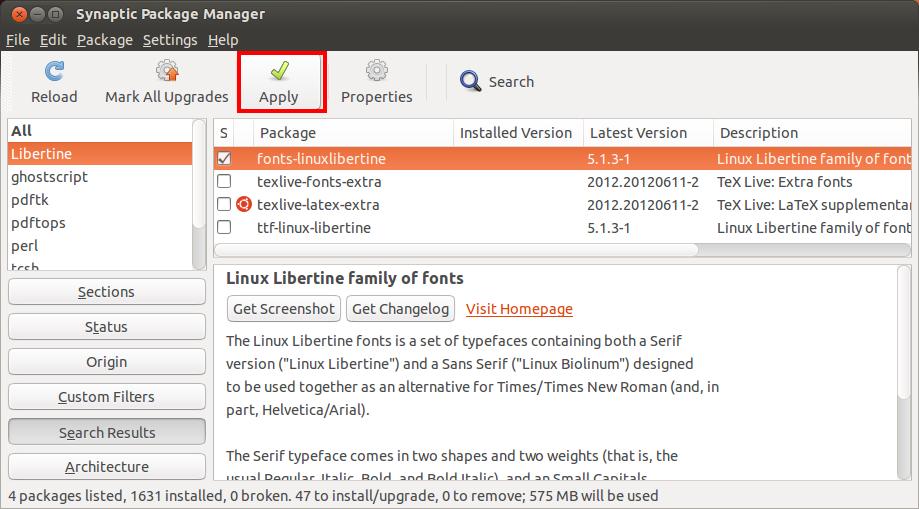
Click "Search" again in Synaptic and in the opened window type in "libertine", then click "Search" there.
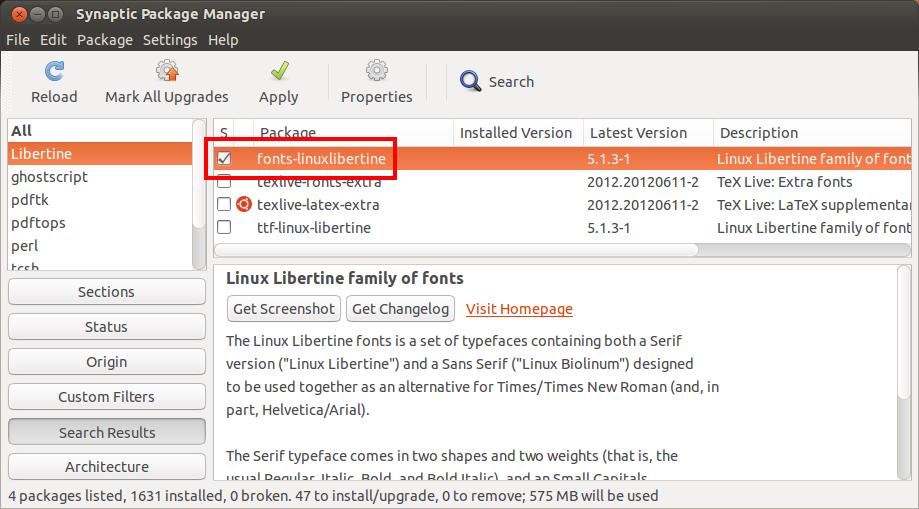
Right-click the fonts-linuxlibertine button and select "Mark for installation."
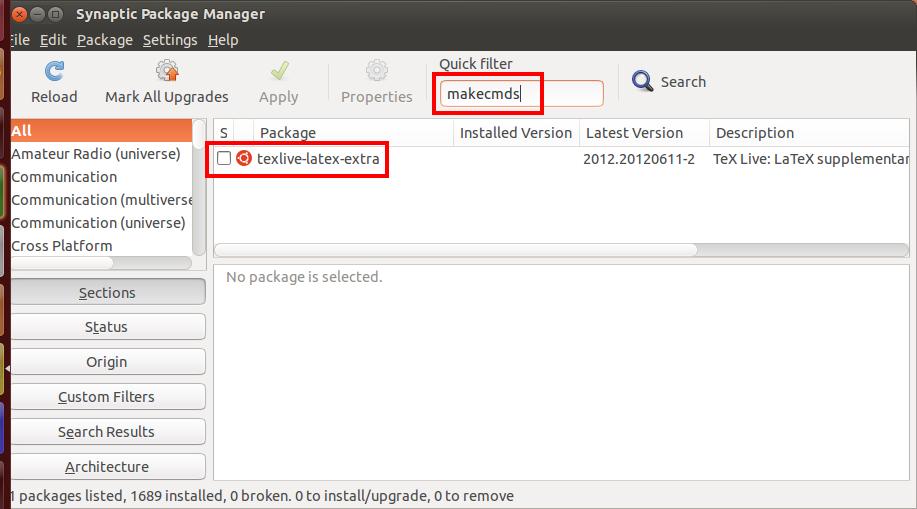
You also need to mark "texlive-latex-extra" for installation. As you see in the Quick Search box, I searched for makecmds. (Sorry, I forgot to take a picture of the search window. Actually, I did this stuff later, when XeLaTeX complained it did not have etoolbox and makecmds. Make sure there is a check mark in the button, unlike it shows above.)
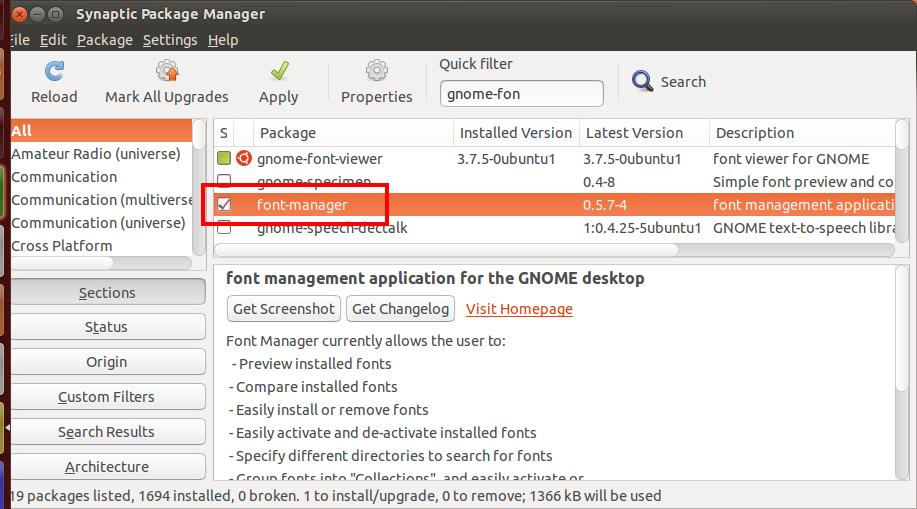
Finally, you need gnome-font-manager. As you see, I searched for "gnome-fon".
As before, click "Apply" in Synaptic. After things have installed, you can exit Synaptic.
The remaining images in this section show how you can install external fonts that may have characters you cannot find in linux. For example, you can install MS Windows fonts this way. However, the examples that I install here are not Microsoft fonts. They are "TITUS Cyberbit Basic" and "Bitstream Cyberbit". These fonts are special in that they cover a very wide range of characters in many languages. (TITUS has no Chinese, Japanese, or Korean characters, but Bitstream does). You should be able to find them available for private use on the web if you want them.
If you do not want to install external fonts at this time, you can go on to the next section, "Installing l2h", now.
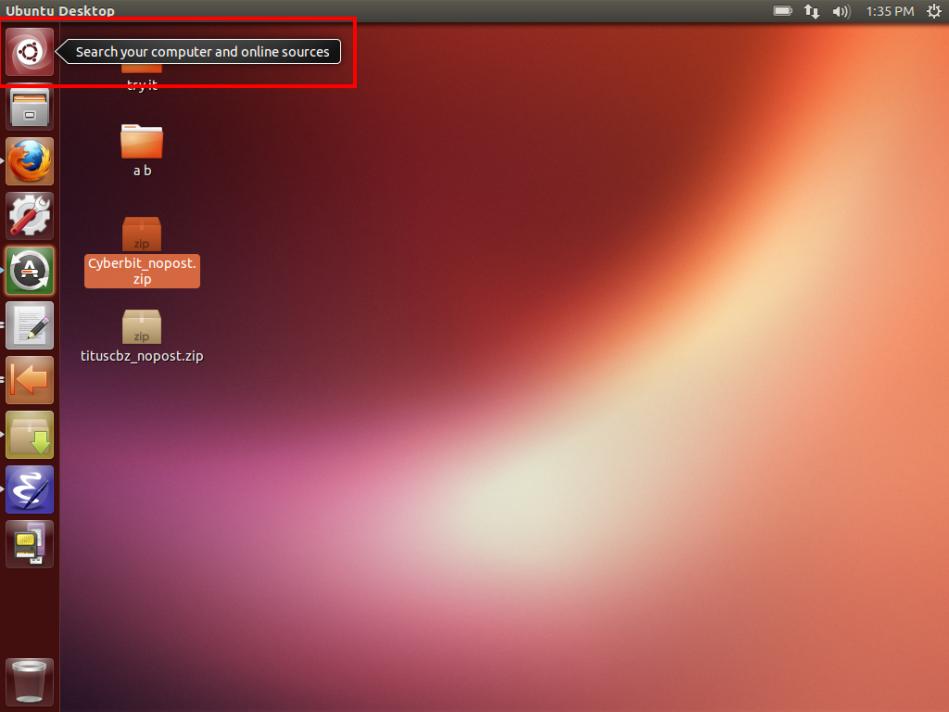
First you need to find the just-installed Font Manager. Click the Ubuntu "Lens" icon.
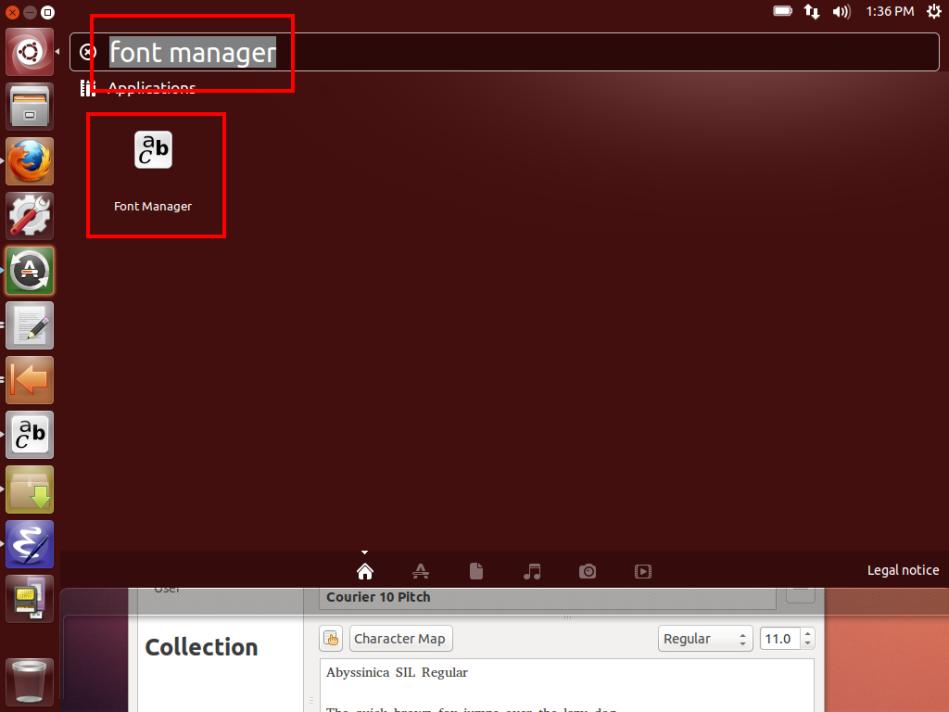
Then type in Font Manager until its icon appears. Double-click the icon to open up Font Manager.
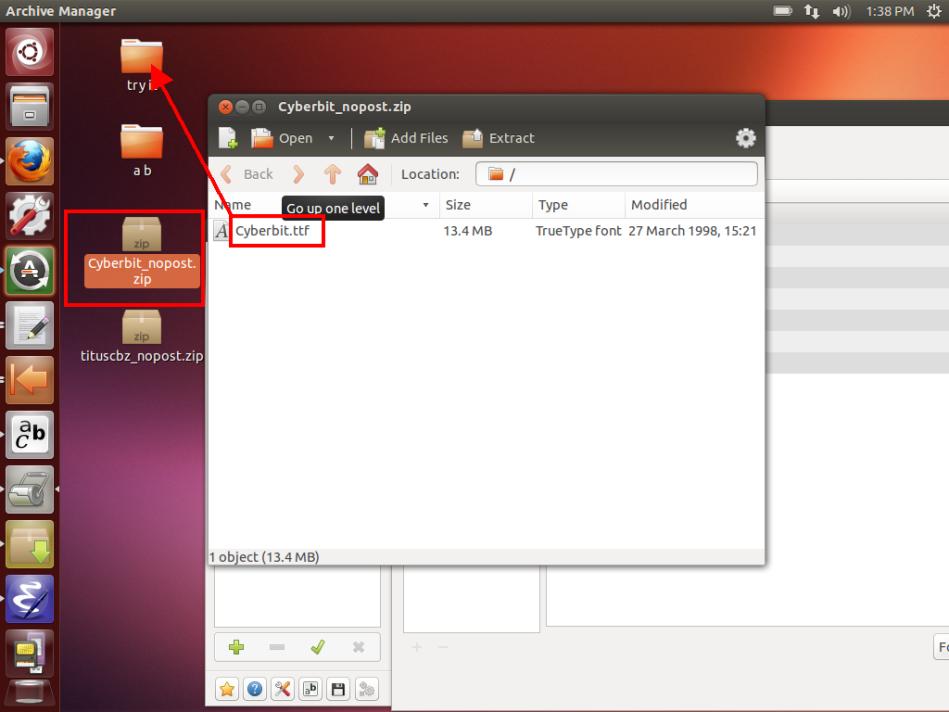
You probably will find the fonts on the Internet stored in some zip file. My fonts were in zip files called "cyberbit_nopost.zip" and "tituscbz_nopost.zip". I put these zip files on my desktop. Then I double-clicked "cyberbit_nopost.zip" to open it up. Then I "dragged" the font out of the zip and dropped it on a "try it" folder I had on the desktop. (In other words, I put the mouse over "Cyberbit.ttf", pushed the left button down, and while keeping it down dragged "Cyberbit.ttf" to "try it".) You might instead just drag "Cyberbit.ttf" to an empty spot on your desktop, of course.
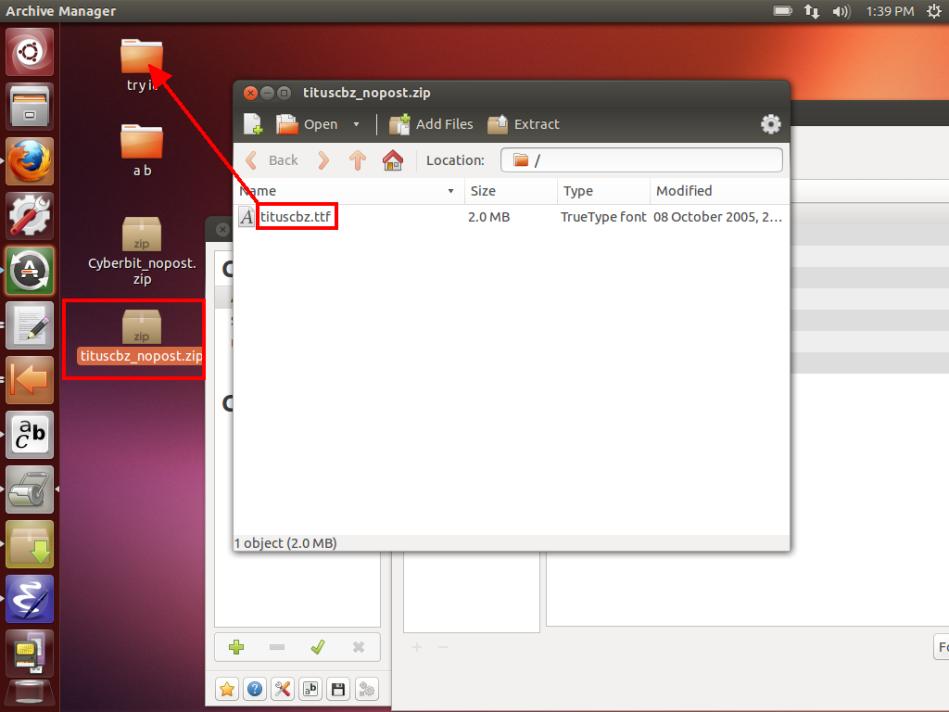
The same for tituscbz.ttf. WARNING: If the file name is in uppercase, like TITUSCBZ.TTF, you need to change it to lowercase. To do so, right-click it inside "try it", or on the desktop, wherever you put it, and select "Rename".
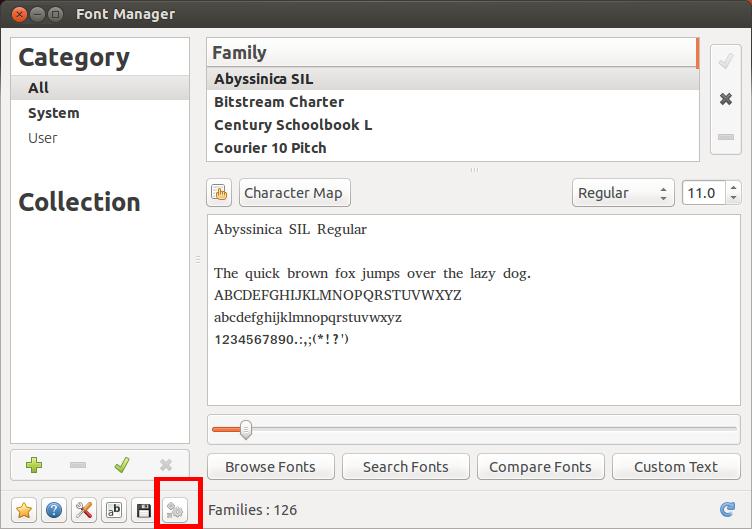
Now go to the Font Manager window. Right-click the encircled Font Management button and select "Install Font".
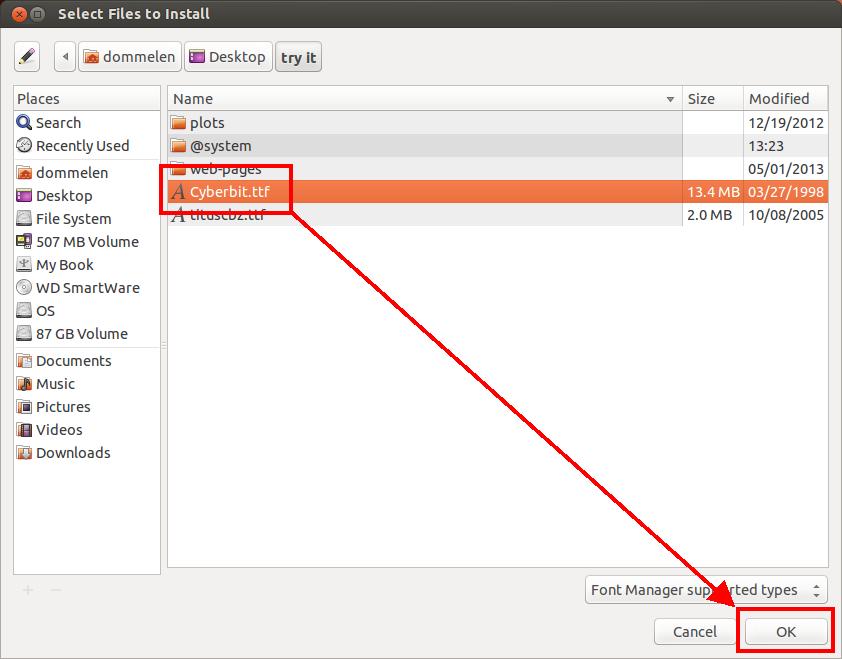
In the opened file selection window, browse to the Desktop, then "try it", or wherever you put the fonts. Select the first one and then click "OK".

After Font Manager has installed the font, click "Reload Now". Repeat for the second font.
Installing l2h
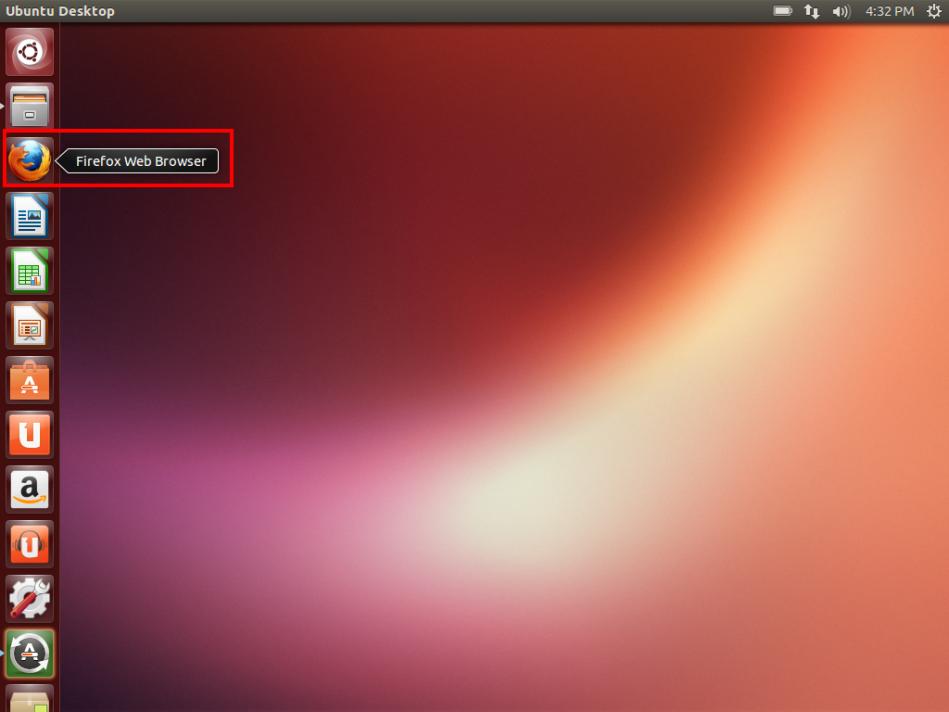
In the quick launch bar, click the Firefox icon.
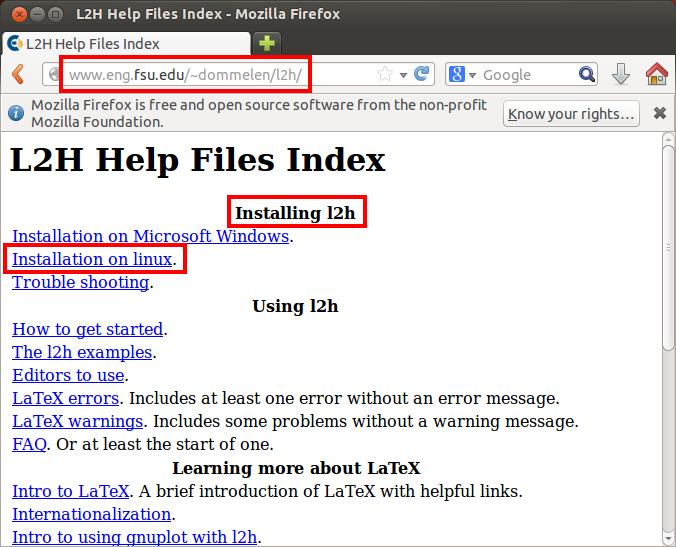
Go to the l2h web page http://www.eng.famu.fsu.edu/~dommelen/l2h or http://www.dommelen.net/l2h. See the location bar. Click "Installation on linux".
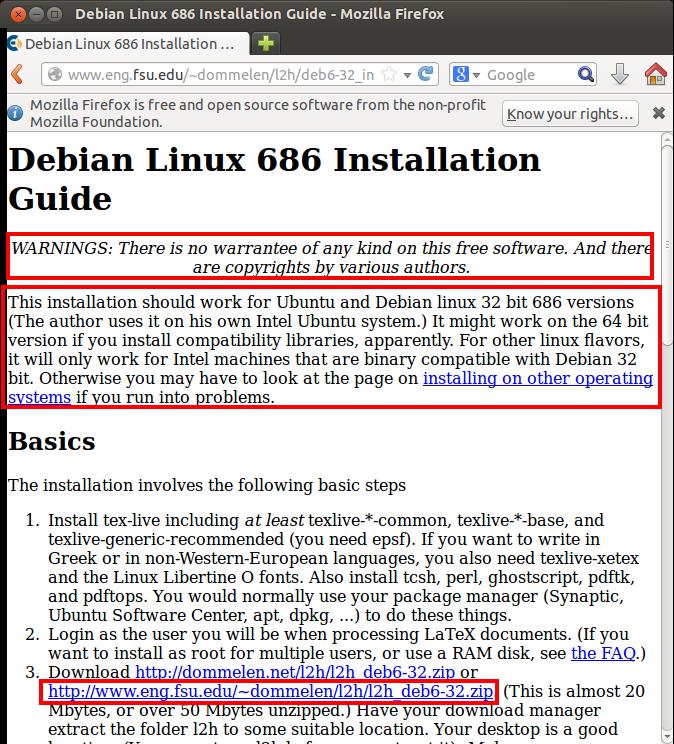
Read the warnings. Check that your system meets the requirements. Then click one of the l2h_deb6-32.zip links.
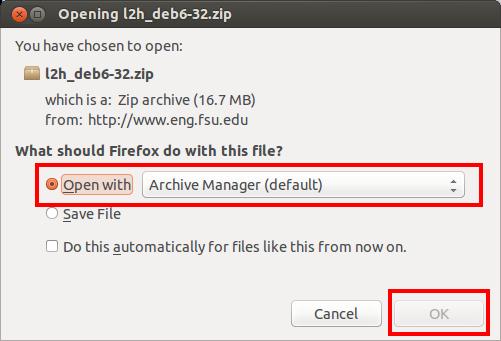
I selected to use Archive Manager and clicked "OK".
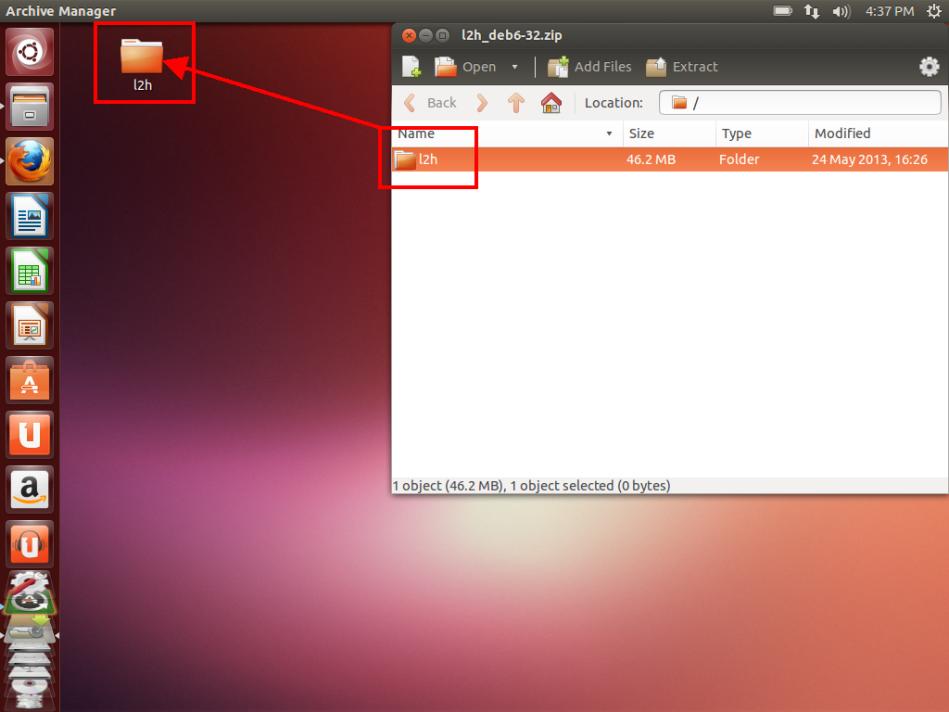
I dragged folder l2h out of the opened Archive Manager and put it on the desktop. (In other words, I put the mouse over the "l2h" folder, pushed the left button down, and while keeping it down dragged "l2h" to a point on the desktop. Then I released the button.) Finally, I first closed Archive Manager and then double-clicked the l2h folder on the desktop.
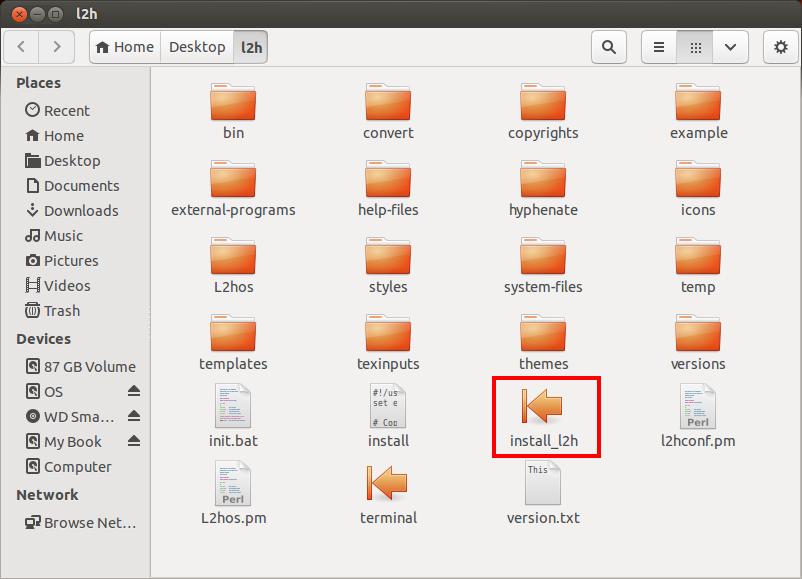
In the opened l2h folder, I double-clicked "install-l2h".
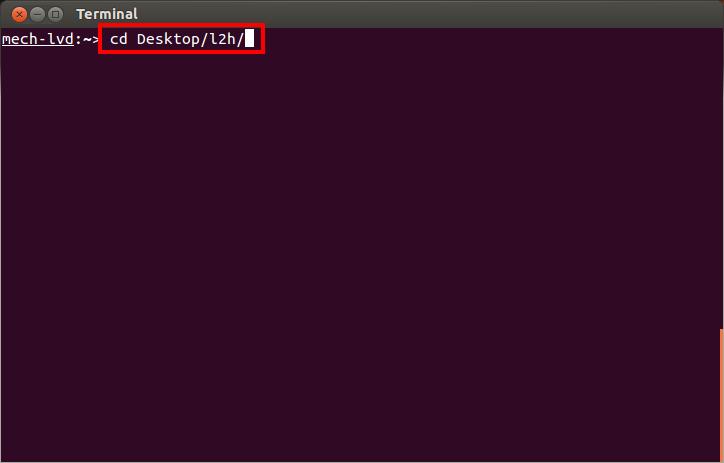
That opened a terminal window. In it, I typed "cd Desktop/l2h/ and hit Enter. (The Enter key is called Return on some keyboards.) (If you put the l2h folder somewhere else than on the Desktop, change the above command correspondingly.)
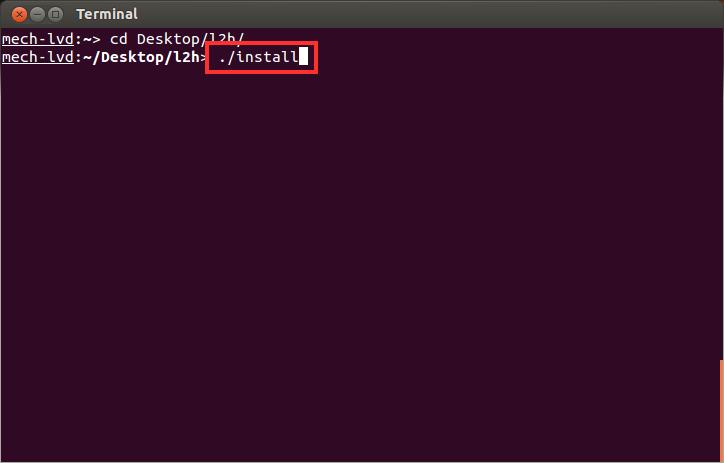
Seeing no complaints about the cd command, I typed "./install" and hit Enter. Do not forget the point.
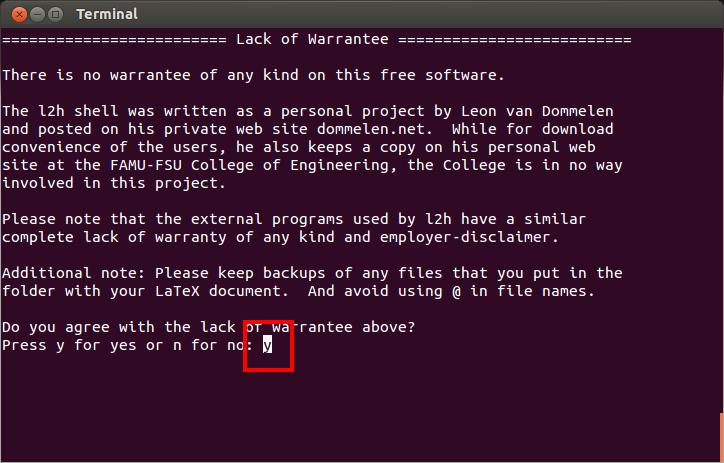
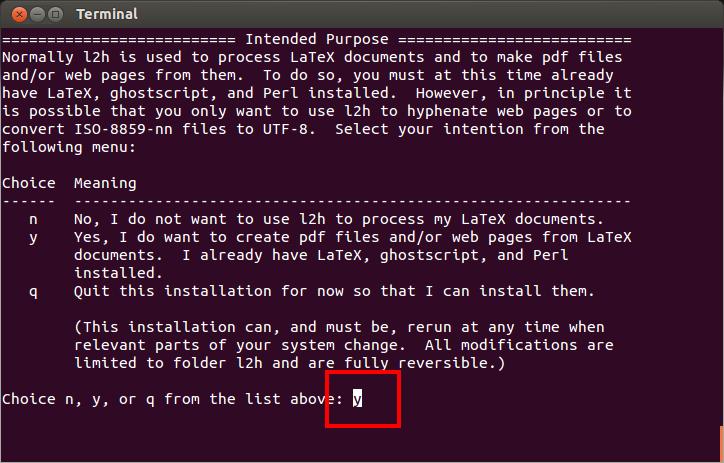
After some meditation, the above screen comes up. After reading carefully, hit the Enter key. Or if you want to be explicit, hit the "y" key.
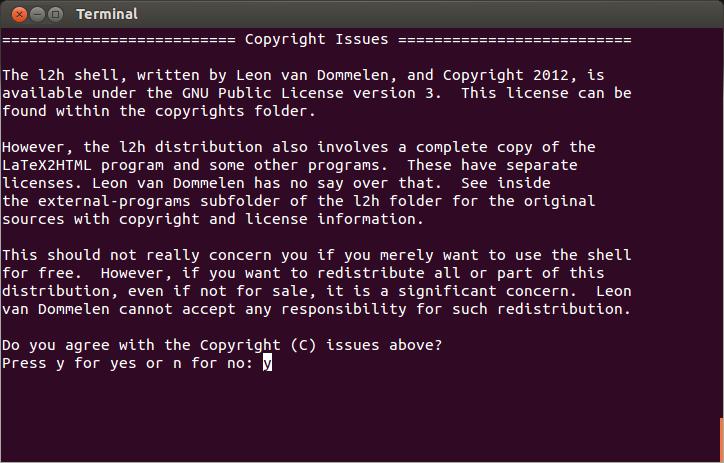
After reading carefully, hit Enter.
Hit Enter.
Hit Enter.
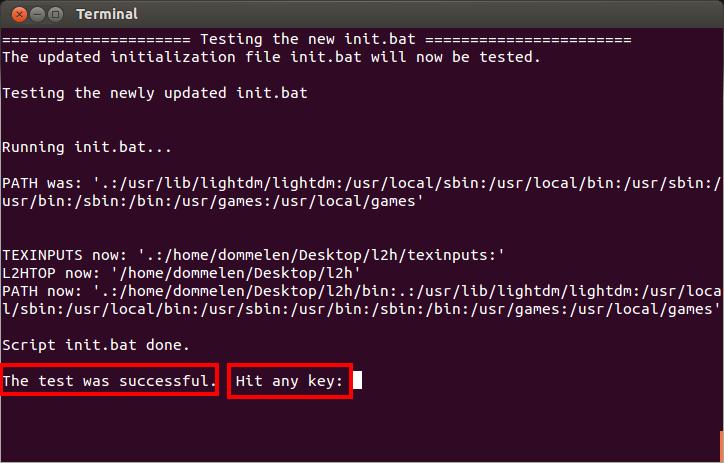
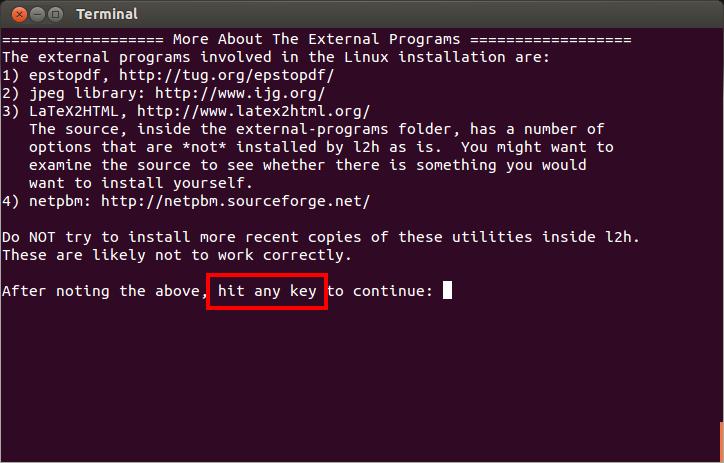
If you have some computer knowledge, it may be interesting to read the messages. Otherwise just hit Enter.
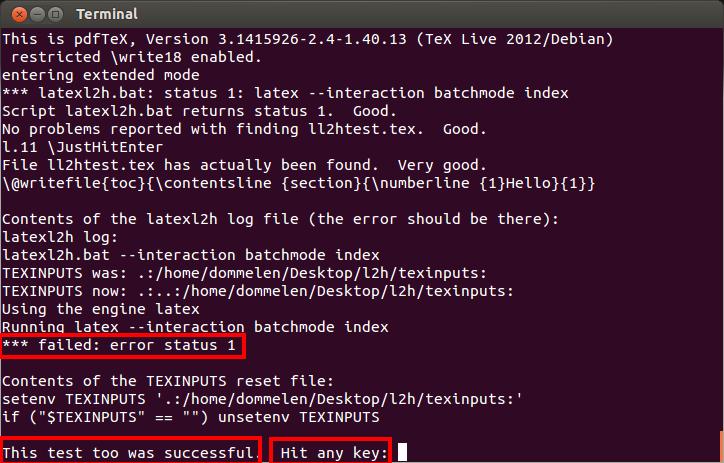
You should see the "failed: error status 1" message. Hit Enter.
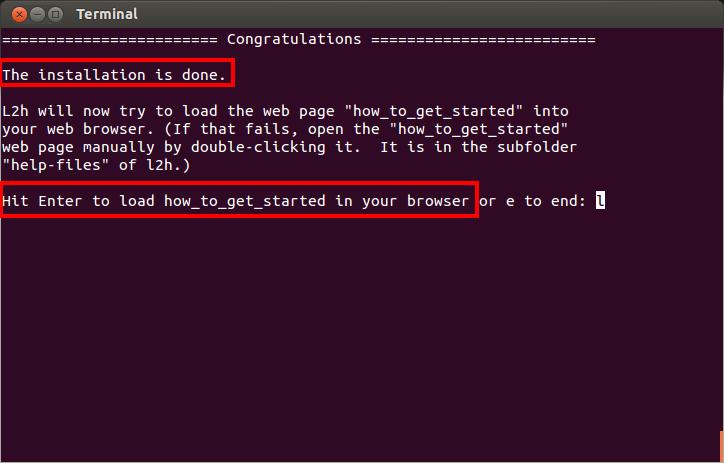
It should say the installation is done. Hit Enter.
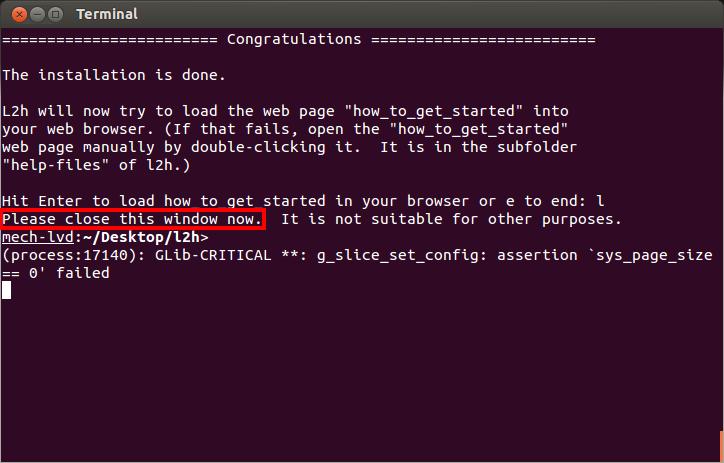
Close the installation terminal window.
Test it out
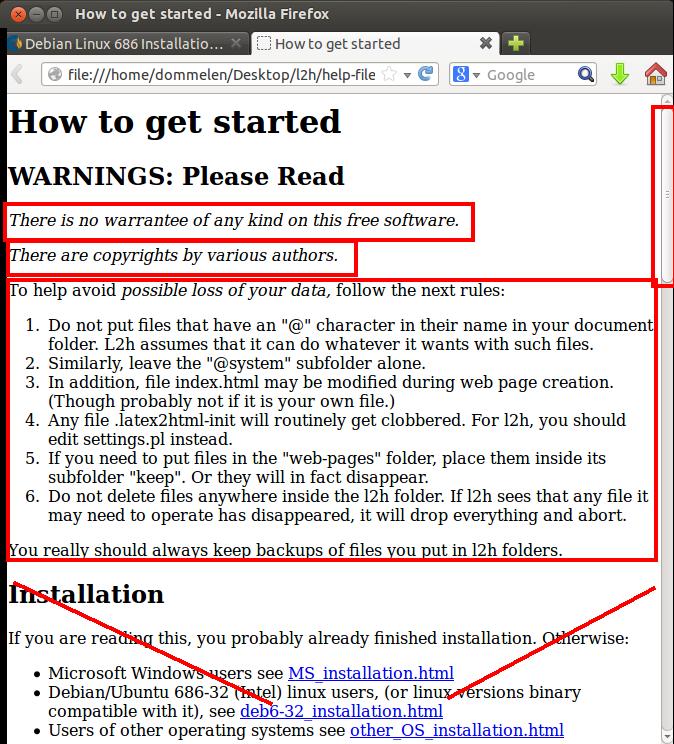
Ckeck that your browser is starting up. Or if it is already started up, that it has loaded the "How to get started" web page. (If not, go into the "l2h" folder, then its "help-files" folder, and right-click it to load it.) Read the warnings.
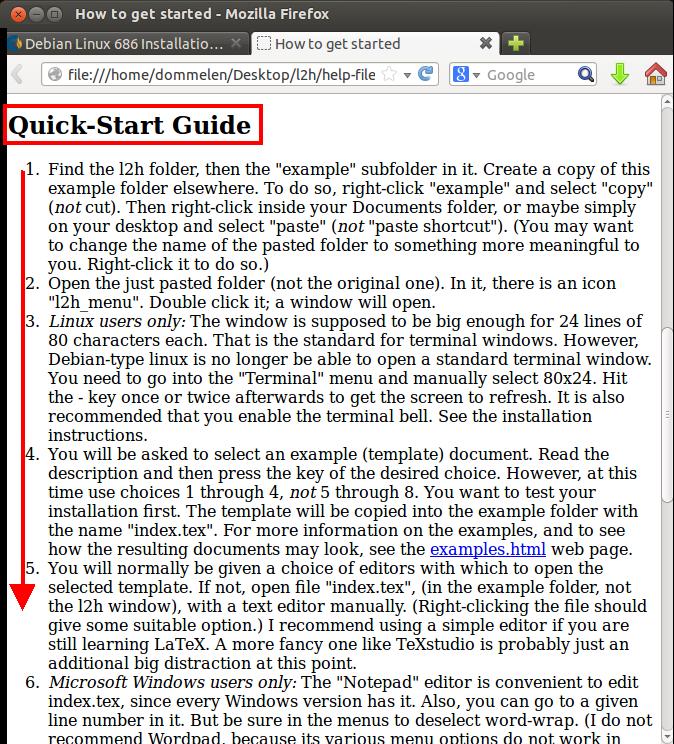
Then scroll down to the "Quick Start Guide." The images below will show what you will see when you follow these instructions.
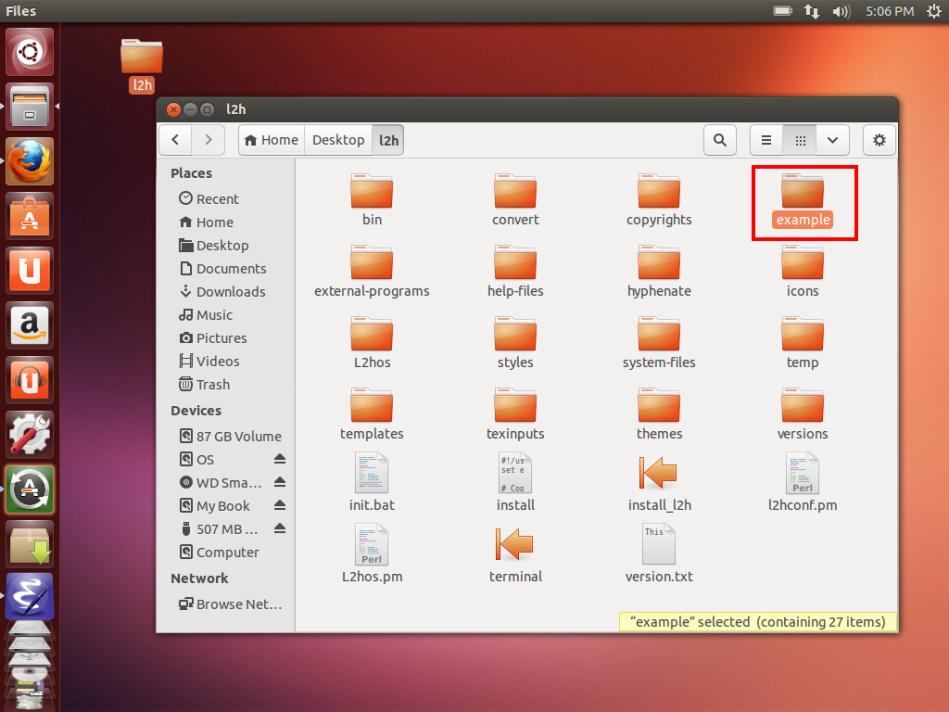
Double-click the "l2h" folder on the desktop. (Or, if you kept its earlier window open, go back there. Personally, I have this urge to close open windows whenever I see them. I guess I date to a time of less powerful computers.) In the l2h folder, right-click the "example" folder. From the pop-up window, select "Copy". Do not "Cut" and do not drag the folder.
Right-click on the desktop and select "Paste" from the menu. Do not "Paste Shortcut". A copy of folder example will be put on the Desktop this way. Double-click it to open it. (You can close the l2h folder now.)

There is the opened desktop "example" folder. Scroll down and double-click "l2h_menu".
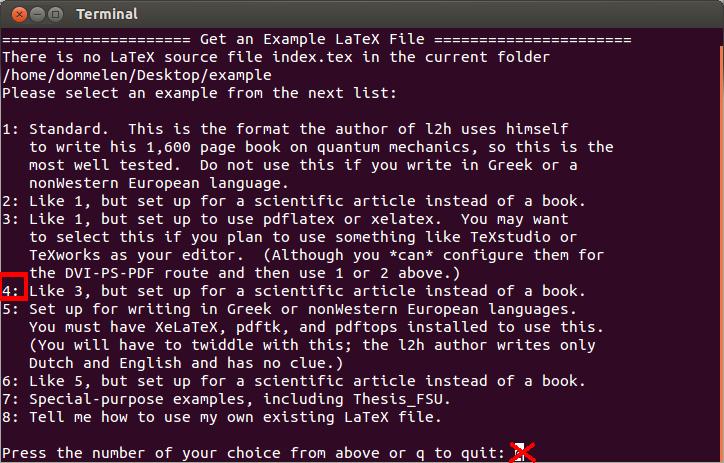
This opens up the l2h menu terminal. It asks you to select an example. The first time, to test your installation, choose one of the examples 1 though 4. Here I selected example 4, by hitting the "4" key on the keyboard. (Just hitting Enter will not work here.)
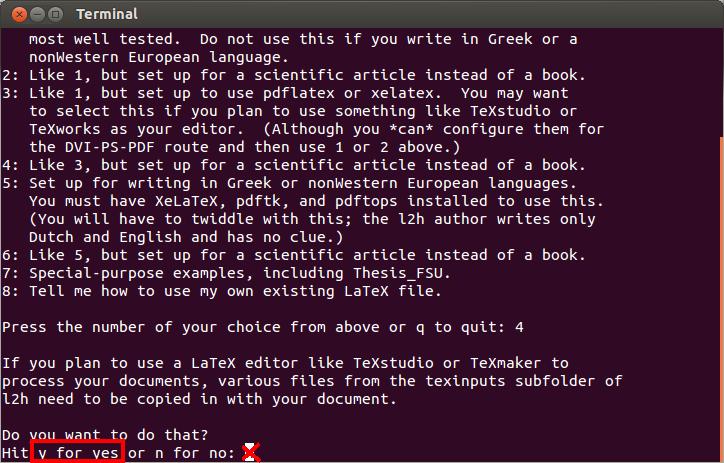
Hitting "y" here can do little harm, so I did.
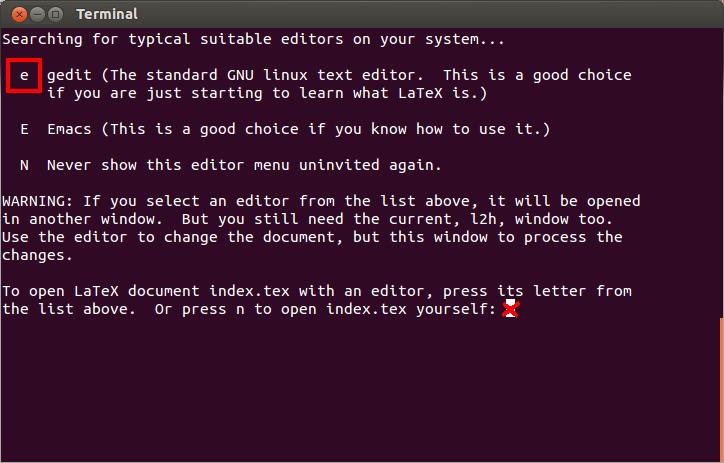
Hit "e", not Enter.
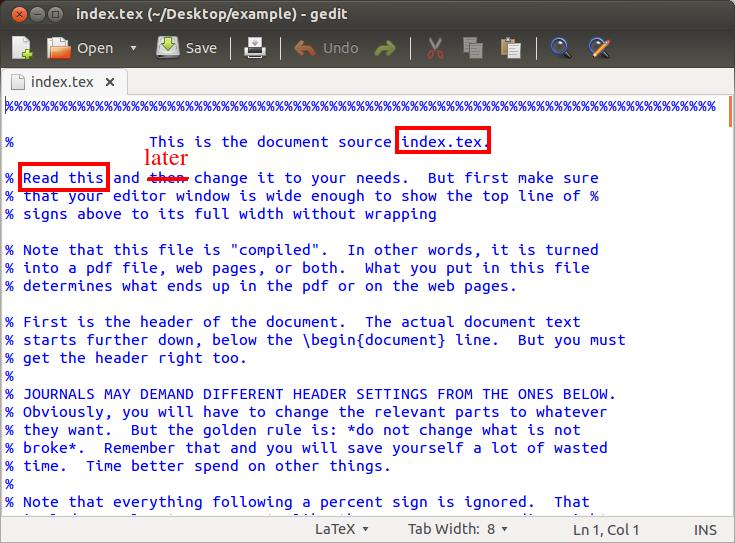
A new window with the "gedit" editor will open. It will show you the example LaTeX source document number 4 that you have selected. Read through it but do not change it before you have tested your installation. Do not worry too much yet about details.
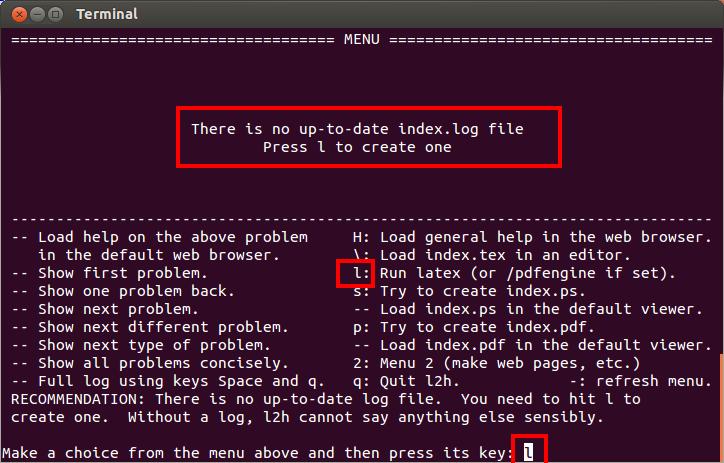
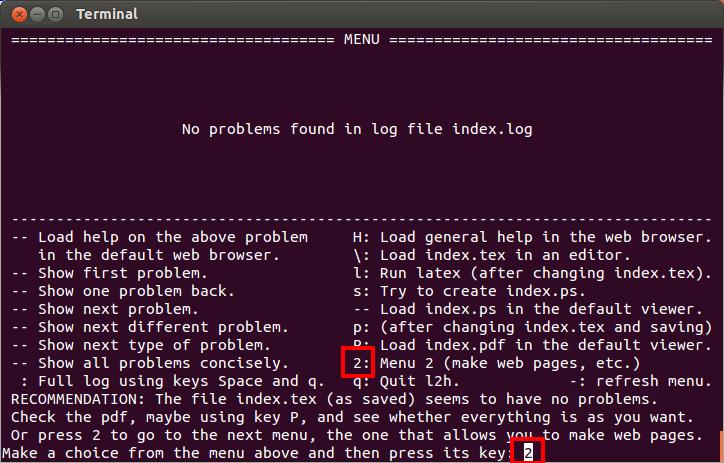
After looking at the source document, go back to the l2h menu window. As it says, hit "l" (not "1"). Or just hit Enter.
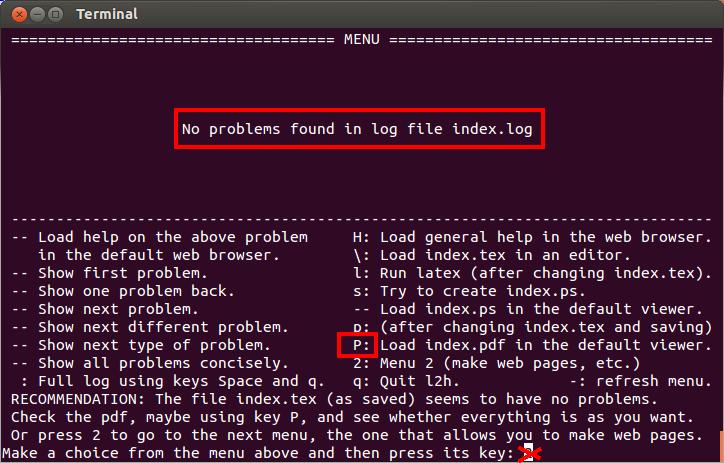
No problems, so hit "P" (capital P, so hold Shift) to check the finished document in pdf form. (Note: If you selected example 1 or 2 instead of 4, you will first need to hit the "p", lowercase, key before you can use "P".)
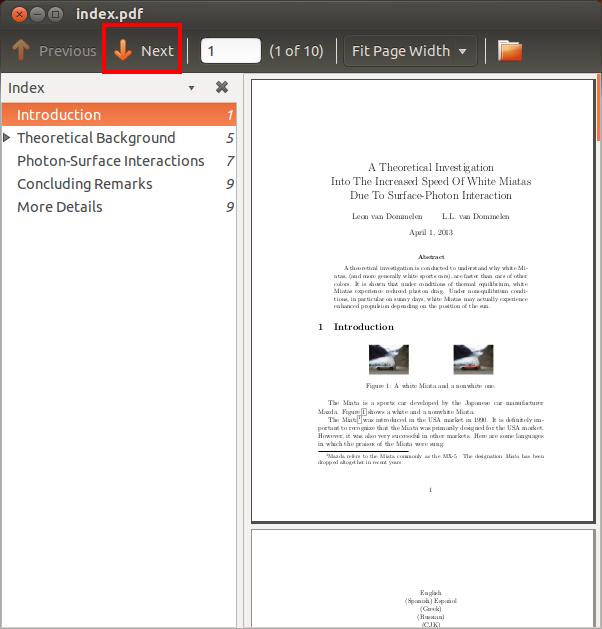
Evince will open to show the finished document. Looks OK to me. An impressive scientific study indeed!
Now see whether you can create a web-pages version of the document. Hit "2", or just Enter.
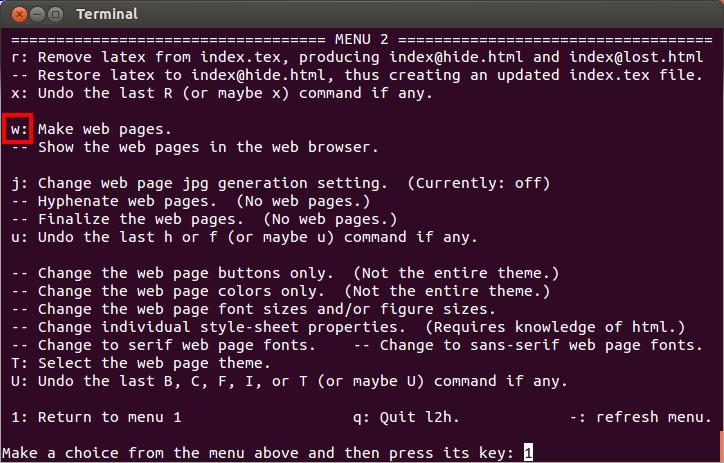
Hit "w".
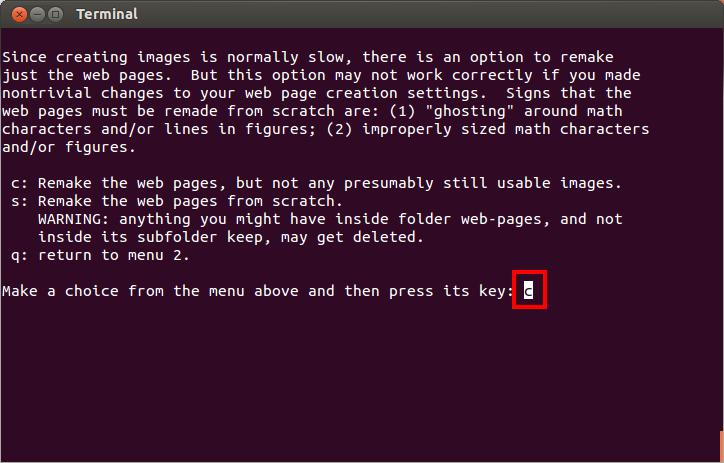
There are no existing web pages. Just hit "c" or just Enter.
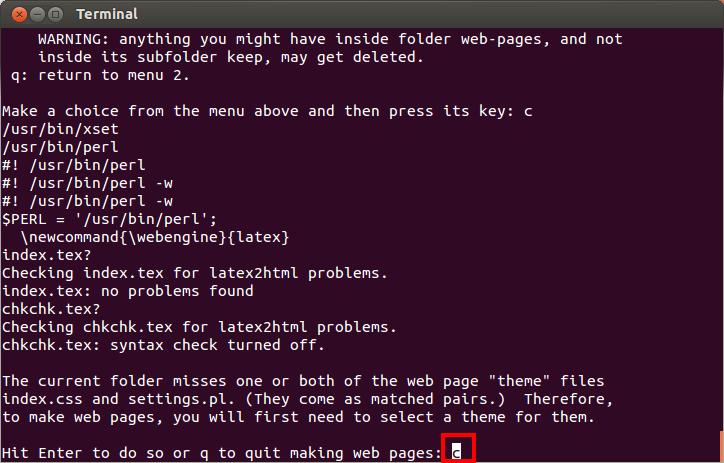
Hit "c" or just Enter to proceed to the web page theme selection.
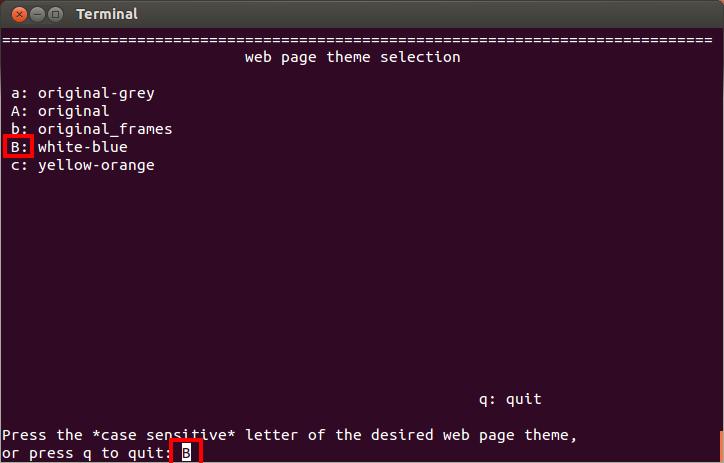
Here I took the default "B" for the white-blue appearence of the web pages.
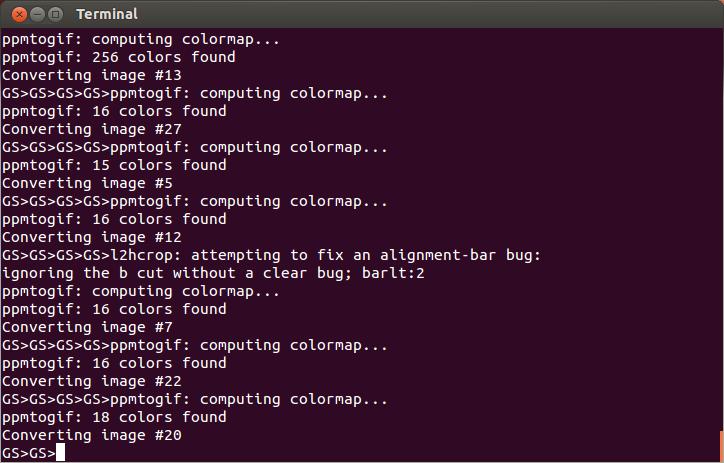
When I process my 1600 page book on Quantum Mechanics on my laptop, I have screens like this for an hour. My more recent desktop computer at work is a bit quicker, fortunately. So I tend to use that one. Or process overnight or while I am away.
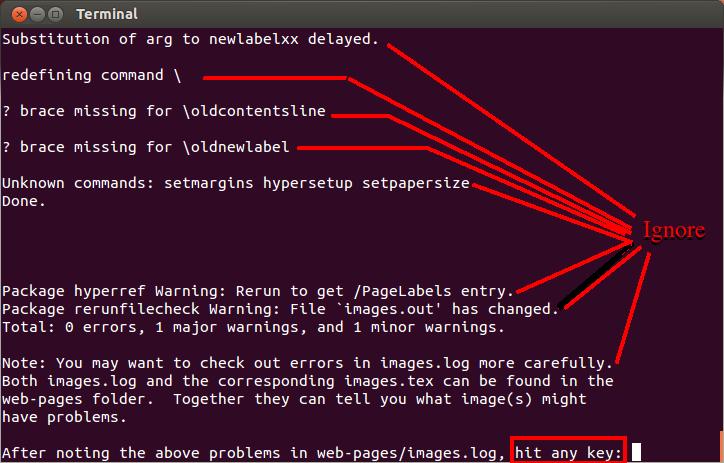
The web pages are done. It takes some experience to know what messages from latex2html you can safely ignore. All that is shown here can be ignored. (The hyperref warning would be a major warning if it occurred for the pdf version. But the web pages do not use hyperref.) Just hit Enter.
(Yes you can examine the web pages themselves to see if they are OK. But for my book on quantum mechanics, that is not a realistic option. It is 1600 pages in pdf form. The hundreds of web pages use almost 10,000 different gif images. If I could not trust that the version of latex2html that comes with l2h is 100% reliable, I could not function. A 99.99% reliability would mean that on average an error would indeed occur.)
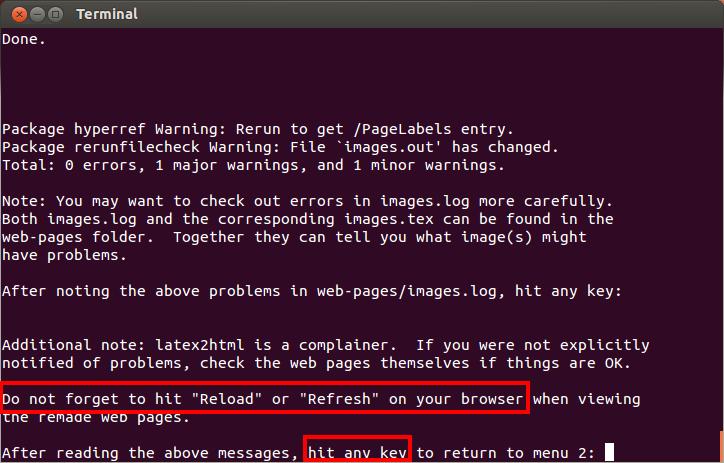
A reminder to hit Reload or refresh on your browser, in case an old version of the web pages is already loaded. Since there is not, this can be ignored. (To reload, click the curved blue arrow in the location bar. Or right-click the web page and select Reload from the menu. Or click in the location bar and hit Enter.) Hit Enter.
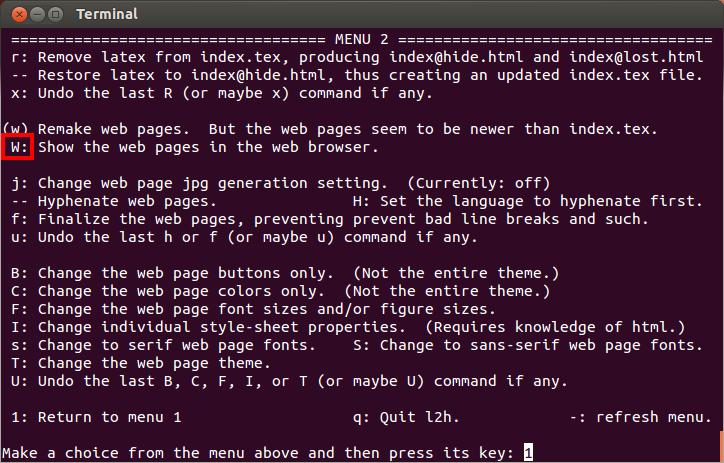
Hit "W", capital, to view the web pages.
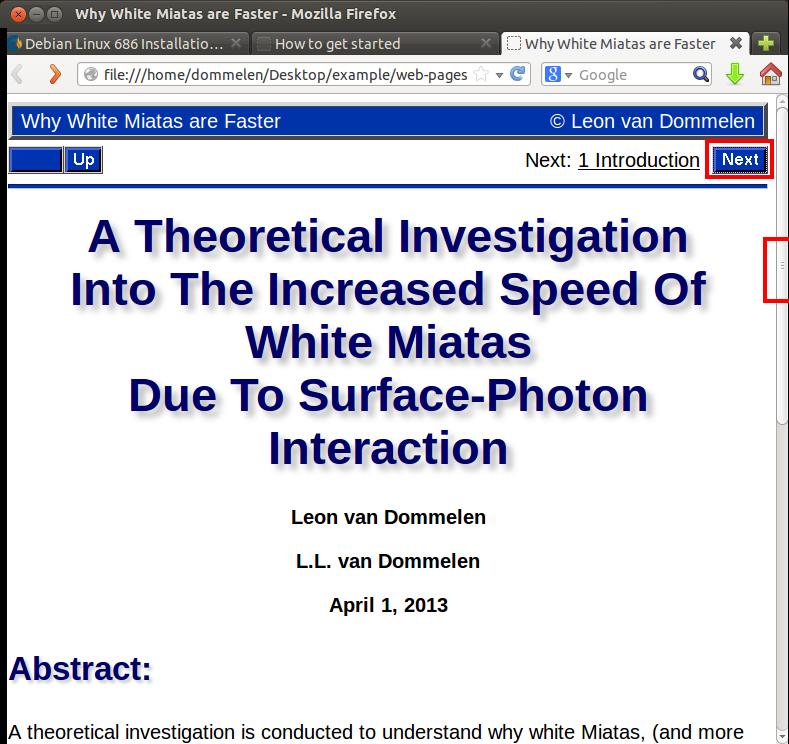
Go to your browser window. Examine the created web pages. Use the scroll bar and the buttons to do so. An impressive scientific study indeed! Note that active links are much more accurate and quicker on the web pages. Also, pictures look better at the default resolution. (However, if you magnify the images, the pdf ones will typically become better. Also, some pictures, like the Miata ones, have reduced colors on the web pages because they are in gif format. However, this can be fixed by enabling jpg generation in l2h. Do not worry about it yet.)